
Bikepacking is the ultimate cycling adventure. There’s something uniquely rewarding about traversing a landscape and exploring new places by pedal power alone. But getting ready for your first bikepacking trip can feel overwhelming. What bikepacking bags and other gear do you need? How do you plan a route? And logistics aside, how can you be sure you’re going to be able to tick off all those miles without having a serious sense of humour failure?
In our guide to bikepacking for beginners, we’ll talk you through everything you need to know to plan and prepare for your first bikepacking trip. With expert tips from seasoned ultra cyclist and cycling coach Tom Townsend (whose rap sheet of epic cycling adventures includes LEJOG off road, and plenty of other seriously hefty mileage), we’ll have you feeling ready to pack your bags and hit the saddle in no time!
What is bikepacking?
Bikepacking typically refers to a multi-day, self-supported cycling trip. Unlike organised bicycle tours, where there’s usually a support team transporting your luggage, bikepacking involves carrying all your gear with you on the bike. Think of it as backpacking, but on two wheels.
Some bikepackers choose to camp, carrying lightweight tents (or even bivvy bags – more on these later) to essentially stop where they drop, and set up camp for the night. Others will book accommodation such as cycling-friendly hotels and B&Bs, and plan their route and daily mileage accordingly. Bikepacking routes can be on or off-road, though it’s common for bikepackers to ride gravel bikes so they can do a mix of tarmac and trail.
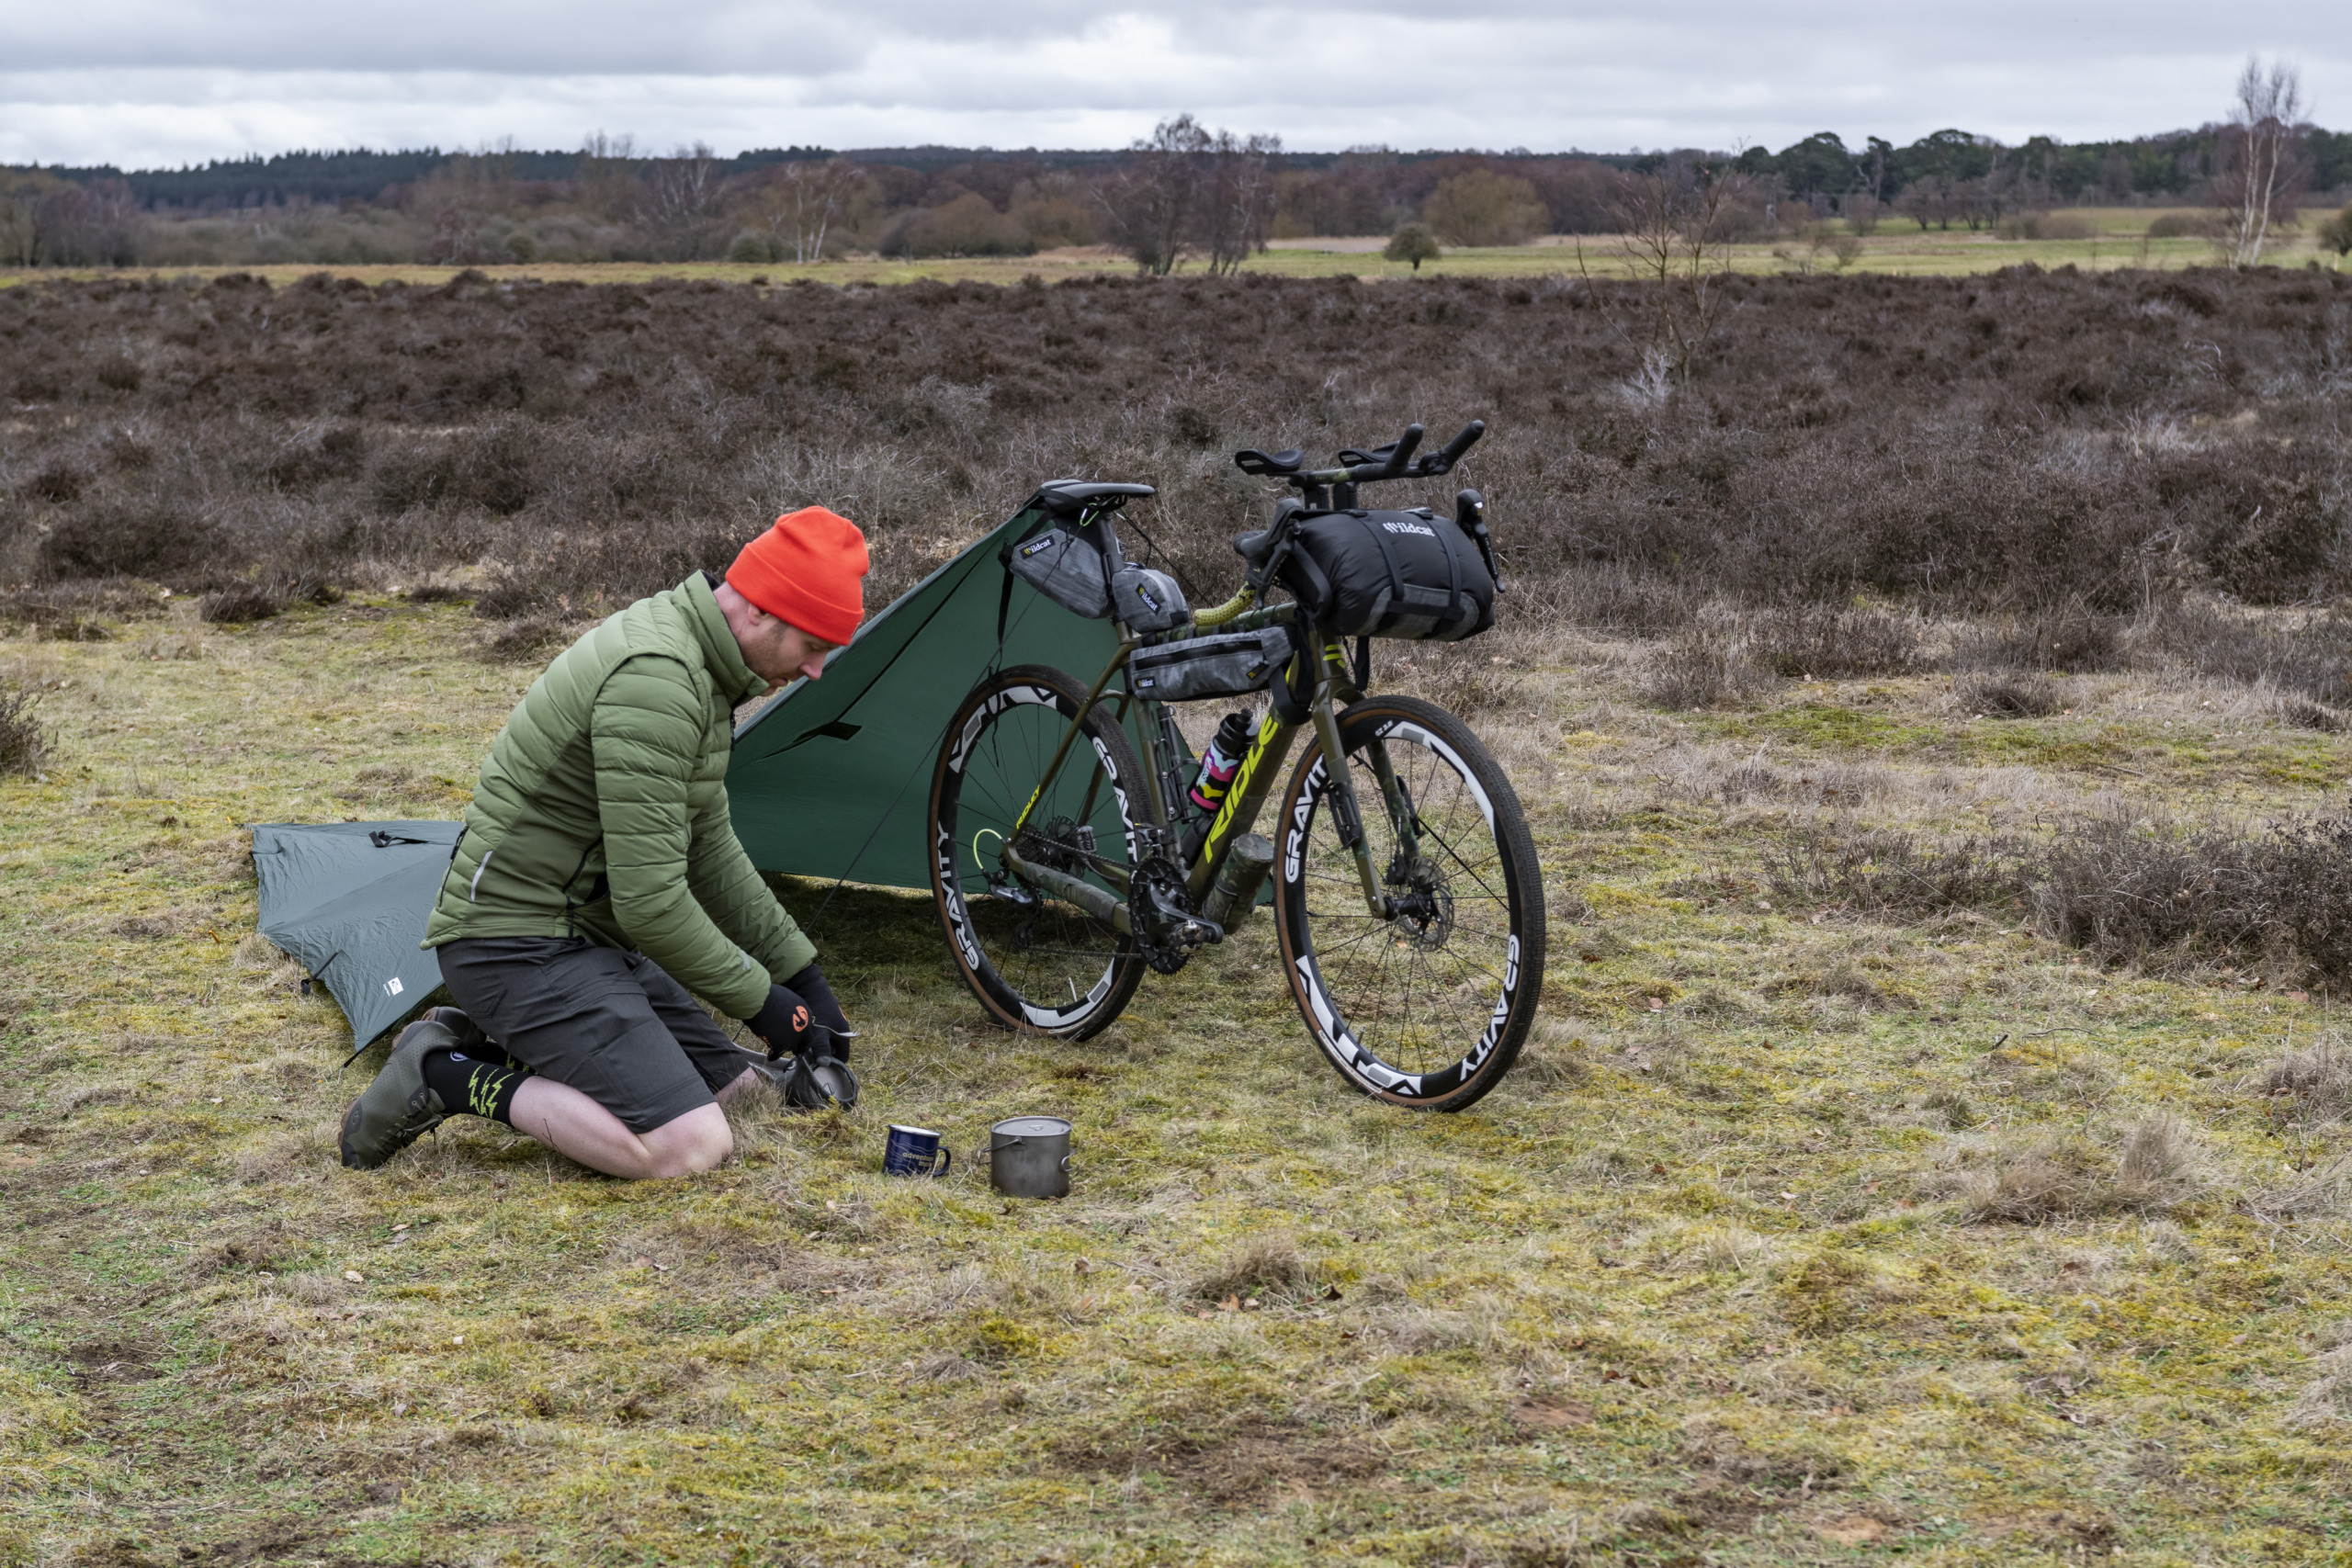
Bikepacking bags

Given that bikepacking is basically backpacking, but on a bike… It’s time to load up your trusty steed! Investing in good bikepacking bags is essential for enjoying your trip. There are a few different options to consider, and how many of them you need will depend on how long your trip is (and how much stuff you need to carry).
- Frame bags: these sit on the underside of your top tube, within the front triangle of your bike frame. Handy for packing the gear you don’t need to access mid-ride. Make sure you check the dimensions of your top tube and choose a bag that fits your frame size.
- Handlebar bags/harnesses: A handlebar bag fits to the front of your bike, attaching to the centre of the handlebars and sitting above your front wheel. You can either get an all-in-one bag, or go for a harness which fits your own drybag (more on those below).
- Top tube bag: A small bag which can either sit on your top tube in front of your seat post, or behind your stem. Useful for the things you want to get to during your ride such as snacks, small tools etc.
- Saddle bag/harness: For roadies, a saddle bag is usually a small pouch that contains your tools. But for bikepacking, larger options are available – ideal for storing your clothes or camping gear. Like handlebar bags, you can either get an all in one bag or a harness that fits a dry bag.
- Drybags: The clue is in the name here, these are bags that keep your stuff safe and dry! It’s useful to have a few smaller drybags within a larger bag so you can organise your stuff and find it easily on the fly. Nobody wants to empty out the entire contents of a painstakingly packed bag to find that one tiny tyre lever that’s inevitably slipped to the bottom.
Expert tips: pack light and practice your bikepacking set up
When you’re packing for your bikepacking trip, you need to get ruthless with what you actually need to take with you. This is a ‘leave the kitchen sink at home’ situation, says ultra-endurance cyclist and coach, Tom Townsend: “Packing as little as possible helps with both weight-saving gains and also the efficiency of packing and unpacking bags every day.”
“Practicing packing and attaching bike luggage is also a must, so you can do it quickly during your trip rather than spending an hour trying to fit everything in your panniers the first morning (I may be speaking from experience…). When you’re tired and it’s raining, you don’t want to be spending ages trying to remember which order everything goes into bags and which clip goes where!”
Cycling kit for bikepacking
That’s the packing part of bikepacking covered. But it’s also important to pick what you wear on the bike wisely for a bikepacking trip. Comfort, breathability and versatility are the top priorities here. Let’s get into the essentials:
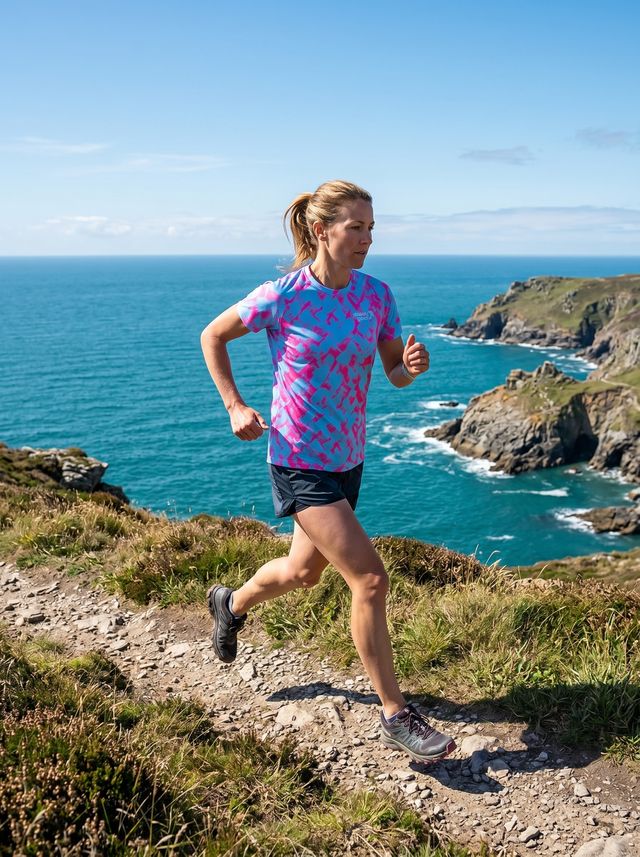
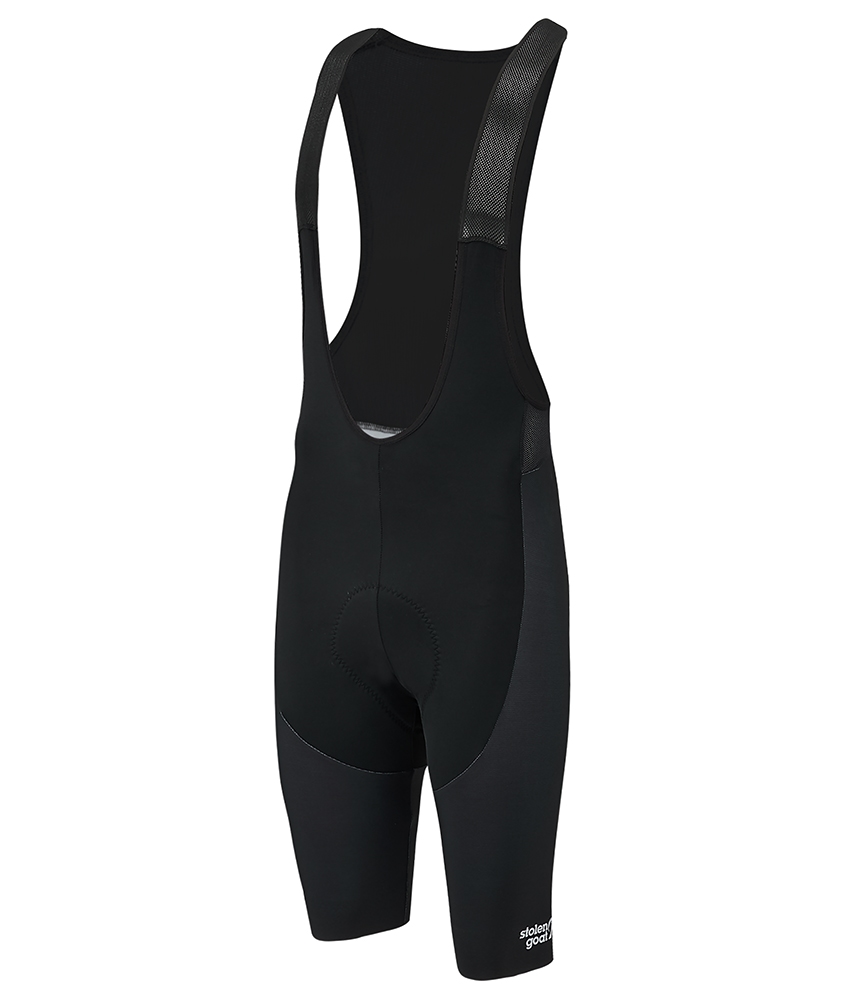
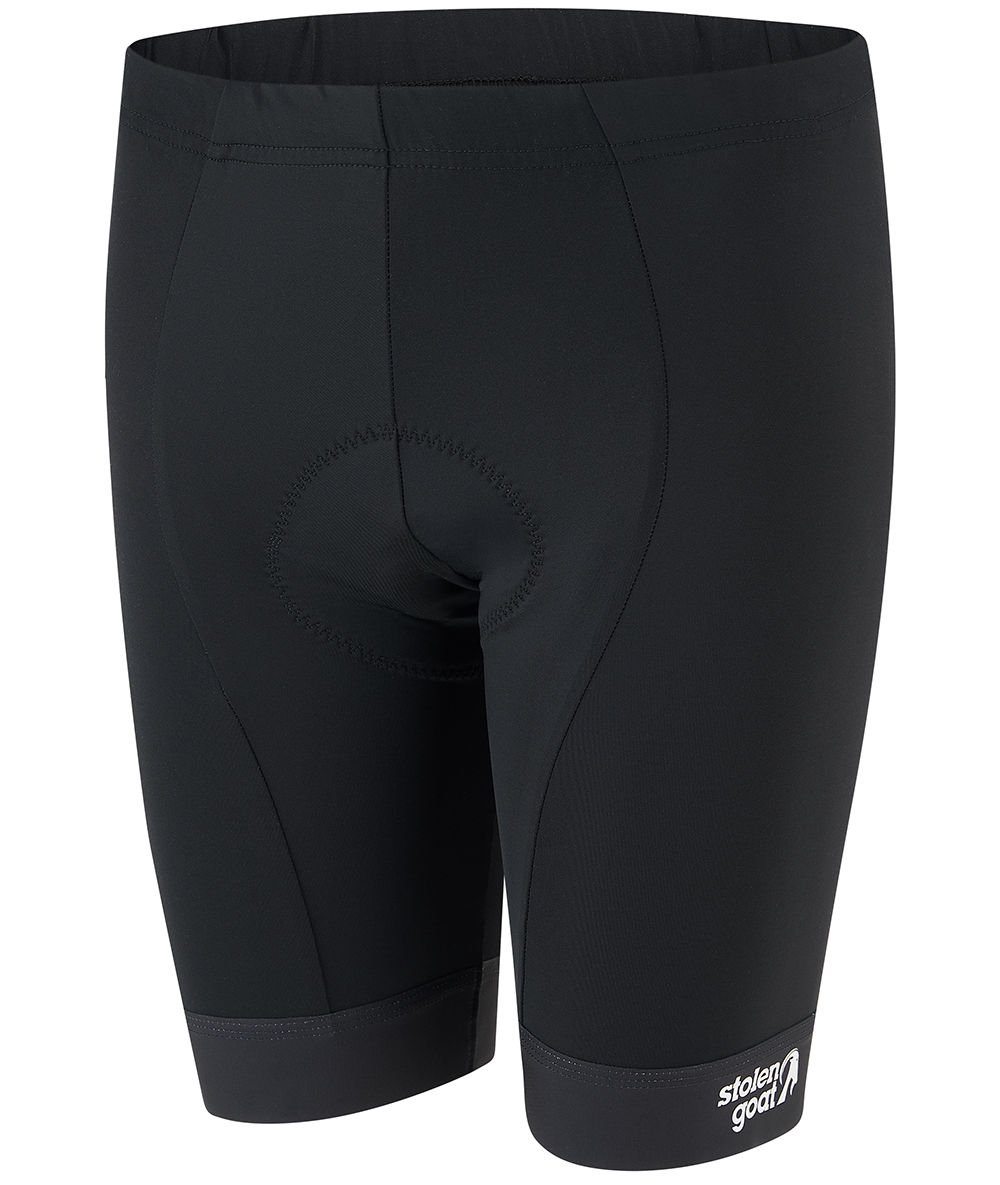
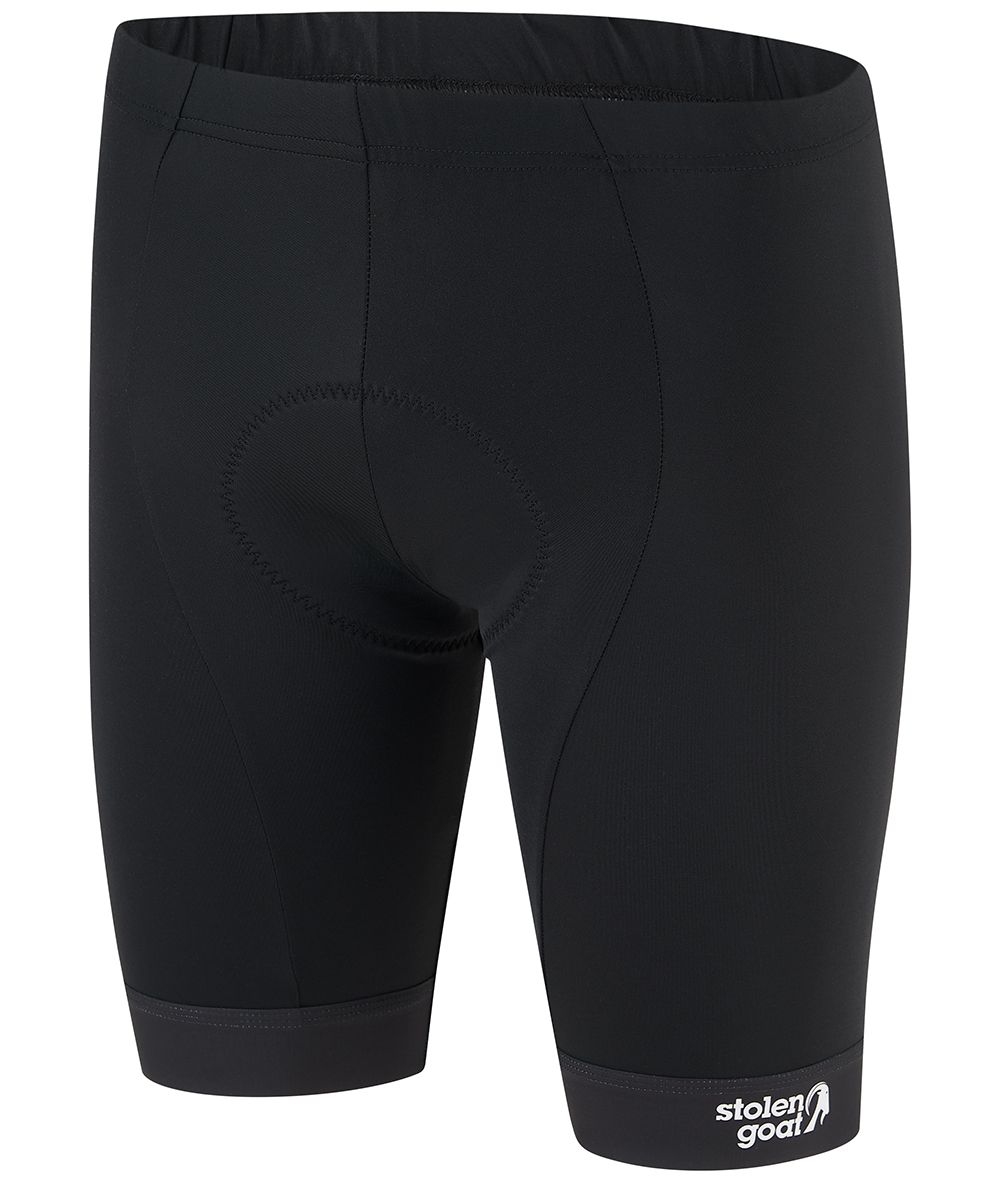
Cycling shorts: For multiday trips, you ideally want to have at least two pairs of cycling shorts. Make sure the chamois pad is ultracomfortable (our Advanced or Endurance shorts are ideal) to avoid any backside pain or undercarriage drama ruining your trip. If you’re likely to have to take your comfort breaks out in the wild, it might be an idea to go for non-bib cycling shorts so you can easily er… drop and go, if you catch our drift.

Base layer: a good base layer can be a gamechanger for bikepacking comfortably. It’ll help to regulate your temperature in changeable conditions, wicks sweat away for fast-drying and it’ll help to keep your cycling jersey fresher for longer (so you can pack lighter).
Shop women’s cycling base layers | Shop men’s cycling base layers
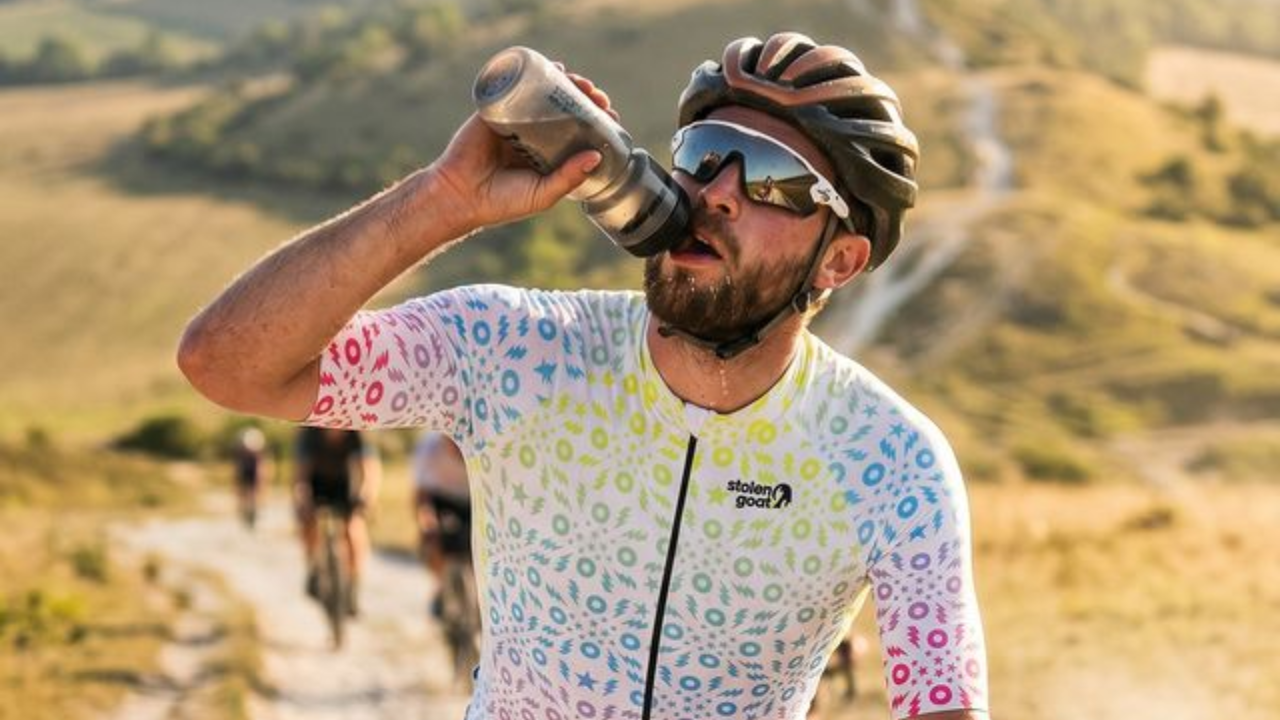
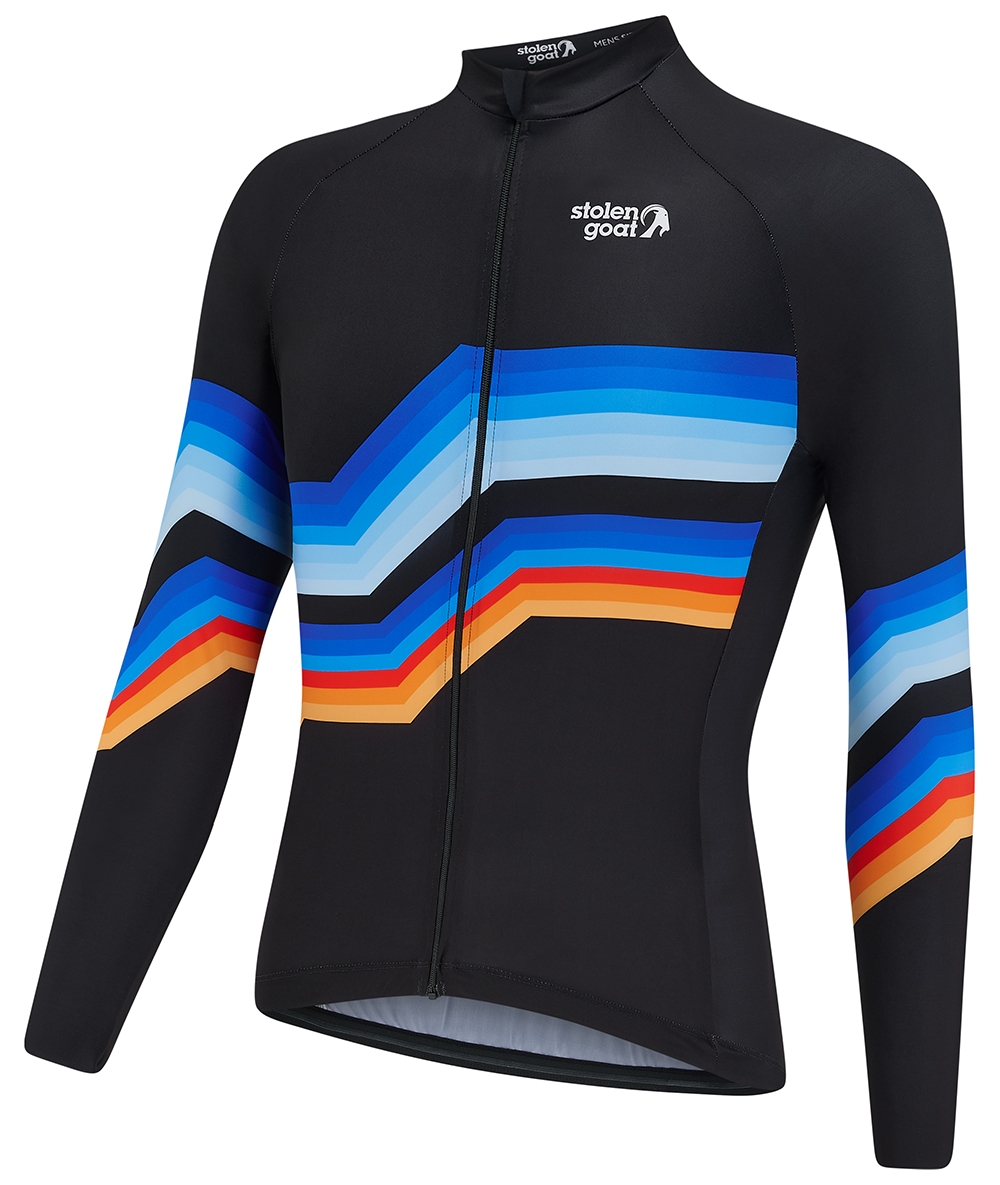
Cycling jerseys: A bikepacking trip is not the time for your ultra-aero race jersey. Instead opt for something like our Every Day cycling jerseys which strike the balance between comfort and aero performance. You don’t want something baggy that feels like a parachute the second you hit a headwind, but you also don’t want to feel too squeezed and restricted. Look for cycling jerseys with 4-way stretch, breathability and plenty of pockets. Like bib shorts, we’d suggest packing at least two jerseys so you can rotate between them.


Cycling mitts: Even if you don’t usually wear cycling gloves/mitts, it’s a good idea to embrace them for a bikepacking trip. Long, back-to-back days on the bike can take it’s toll on your hands and wrists. Check out our guide to cycling mitts to find the perfect pair for your ride!
Gilet: Can’t stop, won’t stop bleating on about how handy cycling gilets are. Chances are you’re going to be having a few dawn ‘til dusk days on the bike, so having a gilet in your back pocket to deploy as and when you need it to take the edge off chilly starts or a blast of headwind will be something you’ll seriously appreciate.
Extra cycling kit layers to consider: These will depend on where and when you’re riding, but if the forecast is mixed it’s also worth having a set of arm warmers and a lightweight waterproof in your bag just in case the weather turns. Even the hardiest of riders are going to have a sense of humour failure if they’re wet and miserable.
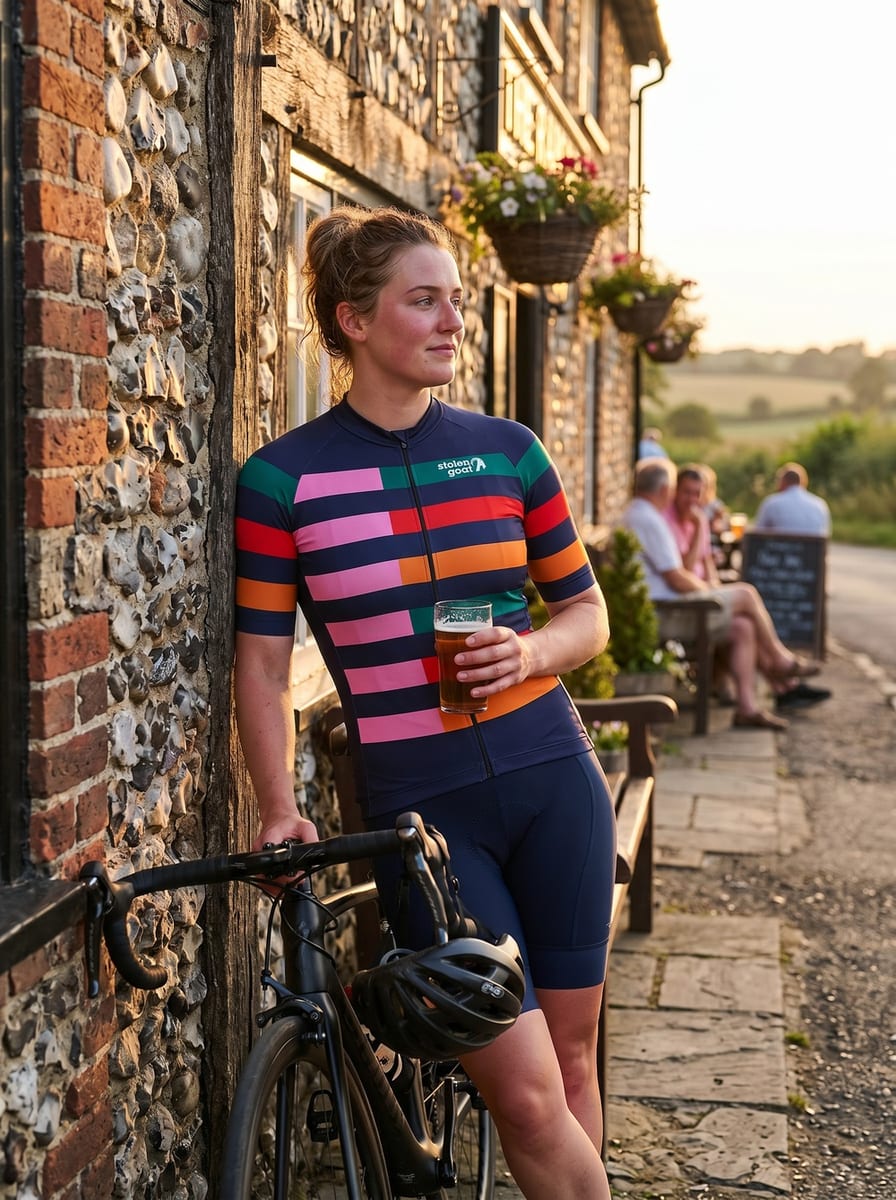
Off the bike clothes: You’re probably not going to be frequenting any Michelin star restaurants or black tie shindigs during your bikepacking trip. But you’ll still want at least one comfy off the bike outfit to change into once you’re done riding for the day. If you’re riding in cycling shoes with cleats, don’t forget to pop some regular shoes in too (unless you want to clip clop around the local convenience store while foraging for dinner supplies).
Nutrition for bikepacking
Beyond your gear, fuelling and hydrating appropriately is one of the most crucial things to get right during a bikepacking trip. With back to back days of big mileage, underfuelling will leave you feeling exhausted, miserable and potentially experiencing the dreaded ‘bonk’ in the middle of nowhere. Even if you plan to stop off at local cafes and pubs along the way, it’s still worth carrying some nutrition with you. That way you can keep your energy levels topped up, and if you miss a stop (or somewhere is unexpectedly closed) it’s not so much of a disaster. Sports nutrition products like gels, chews and carb drink mixes are ideal for travelling light. You can also turn to cheaper alternatives like rice crispy bars, sweets (Jelly Babies have saved plenty of riders and runners over the years!), fig rolls and malt loaf. Choose options that will travel well, and won’t spoil if they get a little bit squashed.
Bikepacking camping gear
You don’t have to camp if you’re bikepacking, but plenty of roaming cyclists choose to embrace sleeping out in the wild as part of the adventure. Sensible bit first: It goes without saying, make sure you have the appropriate rights/permissions to camp. In places such as Scotland, wild camping is widely legal. But in England there are far more restrictions, so check before you set up.
In terms of what you need, again it depends on how long you’re going for and how much you want to prioritise a lightweight set up versus being comfortable. You’d typically want either a compact tent, a groundsheet and a canopy or if you’re feeling hardcore, just a bivy bag (short for bivouac bag, essentially a waterproof sleeping bag cover that acts like a cocoon-tent). If you’re going for the tent option, you could also take a lightweight sleeping mat and a packable sleeping bag.
If you’re going to prepare your food in the wild (or you want the option to make a fresh cup of the good stuff in the morning) then pack a compact cycling (or trail running) camping stove, and a few basic utensils.
If there aren’t hygiene facilities available, you can also get dedicated ‘no water required’ antibacterial bodywash and biodegradable wipes to keep your pits and other unmentionables if not fresh, then at least slightly less pungent. It’s a glamorous life, but someone’s got to live it.
Shop bikepacking camping gear with Wildcat Gear >>
How to plan a bikepacking trip
All the gear but no idea where you’re riding? Let’s change that! Read on for some top tips to help you plan your bikepacking adventure.
Planning a route
First up it’s time to decide where you want to ride. Experienced adventure cyclists sometimes like to ‘wing it’, choose a start point and an end point and then use navigation apps such as Komoot to plan their route day by day. But for first-timers, we’d suggest locking down a plan in advance.
There are some amazing resources out there to help you discover popular routes – we’d highly recommend checking out Epic Road Rides for comprehensive cycling routes and destination guides covering pretty much anywhere and everywhere you could think about riding. For UK riders, Cycling UK also have some designated routes such as the King Alfred’s Way (check out our video from a few years ago when our very own Andy took it on!) and the Rebellion Way, and you can access maps and route planning resources. You can also use apps like Strava, which have heatmaps showing popular cycling routes in different locations.
Consider starting with a microadventure if you’re a bikepacking beginner
There’s a lot of things you can plan and prepare for, but ultimately bikepacking is one of those things where you kind of learn by doing. If you’ve got your sights set on a huge bikepacking adventure, consider planning in a much shorter trip close to home first. This will give you the chance to test out your gear, discover what works and what doesn’t. And have a few ‘light bulb’ moments that’ll set you in good stead for a longer distance trip. And if that ‘light bulb’ moment is “actually, I hate bikepacking give me a Sunday club ride followed by a nice hot bath and a night in my own bed any day”… at least you’re not 1 day into a 15 day trip in a remote location!
Factor in the terrain and weather conditions when you plan your daily mileage
Remember that what looks doable on paper and what’s actually feasible in reality can be two different things, particularly when you’re riding a bike loaded with all your gear and potentially venturing off road.
“Know what terrain you’re getting yourself into,” says Tom Townsend. “When you’re planning how long each day’s riding is going to be (which will be more fixed if you’re staying in hotels and more flexible if you’re camping/bivvying), 200km of mountainous off-road terrain is going to take much, much longer than 200km on flat, tarmac roads so make sure you take this into account.”
“Prevailing wind is also something you might want to consider if you’re riding point to point. When I rode from London to Durham, I had a massive tailwind which helped me to average 20mph for 440km (but don’t tell anyone about the taily!). Knowing where potential resupply points and nearest bike shops on your route is also important, especially if you’re riding somewhere like the Scottish Highlands where you can go a whole day without passing through any towns.”
How to train and prepare for a bikepacking trip
Gear sorted, route planned… now it’s time to get yourself ready. Here’s what you need to know:
Tick off some solid training rides to build your cycling endurance
“Before you set off, make sure you have done some rides that prepare you for the type of days you’ll expect during the event,” Tom recommends. “For example, training for Great British Divide I did lots of big (>10hr) rides and also included some big (>6hr) rides back-to-back to really develop my endurance and my ability to ‘go all day’. This in turn will mean you have more fitness and will be more capable of completing the days with a smile on your face, rather than feeling completely exhausted and wanting to throw your bike in the bin once you return home!”
Not sure where to start? Check out our blog on how to build cycling endurance for practical tips from a cycling coach.
Train for the terrain
Alongside having a good base of endurance to tick off the long miles, it’s also important to build the specific skills you’ll need for the terrain you’ll be tackling. If your route has a lot of off road sections, research how technical they are so you can practice and avoid any nasty surprises. If there’s going to be hills for days, put in some specific training (tips on how to do that HERE) to make sure you’re not going to get chewed up and spat out by all the inclines.
Test your bikepacking set up and practice riding with a fully loaded bike
“You need to know that your bike and kit is up to the adventure you’re heading out on,” Tom highlights. “You want to make sure your bike is mechanically sound and the clothing you choose is both comfortable, and suitable for the weather conditions you’re likely to encounter.”
It’s also important to remember that your bike is going to feel and handle differently once it’s loaded up with all your bikepacking bags. It’s a good idea to do a full dress rehearsal so you can make sure everything fits into your bags, and get used to how the bike will feel once you’ve got everything on board.
Have some basic mechanical knowledge (and practice using it)
“Having the confidence to fix a puncture, re-link a chain, index gears, change brake pads etc. just gives you more peace of mind that you’re not going to have an ‘adventure ending’ mechanical failure.”
“At the moment, I’m just about good on fixing a puncture… The rest my dad can do, so I relied on him during the Great British Divide to fix anything that went wrong,” Tom admitted. “This only happened to be a flat Di2 battery and a need to change brake pads after the abuse they were getting on the challenging terrain thanks to the amazing build by John Bailey of VeloWorx. John was also a lifesaver in that he helped us re-index my Dad’s Di2 after he broke his rear mech hanger by calling us and talking us through it over the phone. Such incredible help is not always available, and we would have been in real trouble without it. This is a very good example as to why being able to fix your own mechanical problems (or at least having someone you can call) is a must when you’re on an epic bikepacking adventure!”
(SG top tip: your local bike shop or cycling club may offer workshops on basic bike mechanics, so it’s worth checking them out. If some in-person tuition isn’t an option, Global Cycling Network have some helpful ‘how to’ videos over on their YouTube channel.)
How to get the most out of your bikepacking trip
Once all the planning and prep is done, it’s time to get out there and enjoy the ride! Here’s how to get the most enjoyment out of your first bikepacking trip:
Be flexible and have a plan B
When you’ve spent hours and hours planning your trip, it’s easy to fall into the trap of obsessively sticking to the planned daily mileage, ticking off every sight and sticking to a regimented plan. But that kind of misses the point. The plan should just be a guide. You might want to spend a little longer in a cool cafe or chatting to a random fellow rider you met along the way. Your legs might not show up one day, and you might want to cut the mileage and enjoy a bit of extra rest instead. If you can, build in the option to shorten routes (there’s no shame in hopping on a train!) or call it a day early. Staying flexible while also knowing your options if things aren’t going as you’d hoped will make the whole trip more enjoyable.
Embrace the unexpected
It’s an adventure, so let the ride unfold in front of you. Things will go wrong. Roads will be closed. Mechanicals will happen. Don’t waste energy getting mad about it. Sometimes you’ve just got to throw your hands up and laugh. Embrace the unexpected, and pack your sense of adventure (and your sense of humour) and you’ll have a way better time.
Don’t let the low points get you down
Tom Townsend is familiar with having to just keep moving forwards, even when things aren’t going according to plan.
“It’s raining, windy and cold. Your legs have given up. Maybe you’ve had a puncture somewhere along the way. The track you’re on is currently unrideable so you’re lugging your bike on your shoulder and you’re still a long way from where you’re stopping for the night. Everyone at some point hits a low on a long ride/multi-day event! But all you have to worry about is moving forward and eventually, the sun will come out, your legs will get a second wind, and you will hit rideable gravel/road again.”
“My low point while I was riding the Great British Divide was being faced with the unrideable GAP pass in Wales at 6pm. If the pass had been rideable, I would have rolled into my B&B at 6:30 and been showered and changed by 7:15. Instead, we spent 90 minutes hiking over the pass with our 20kg loaded bikes and didn’t get there until 8pm. My dad’s lowest point was probably falling into river while hiking off the back of Great Dun Fell (yet another unrideable section of GBD!).”
“Not being phased by these uncontrollable changes to your plans is a real skill and something that is crucial if you are to stick with and enjoy your bikepacking. If you’re familiar with the Velominati rules, this is an example of rule 5…”
Heading off somewhere far flung, or just exploring your local routes from a different perspective: bikepacking always feels like a proper adventure. And with a few tried and tested tips, and the right gear, it’s more accessible than you might think. Prepare as best you can, be ready to embrace the unexpected and you’ll be in for an awesome ride.