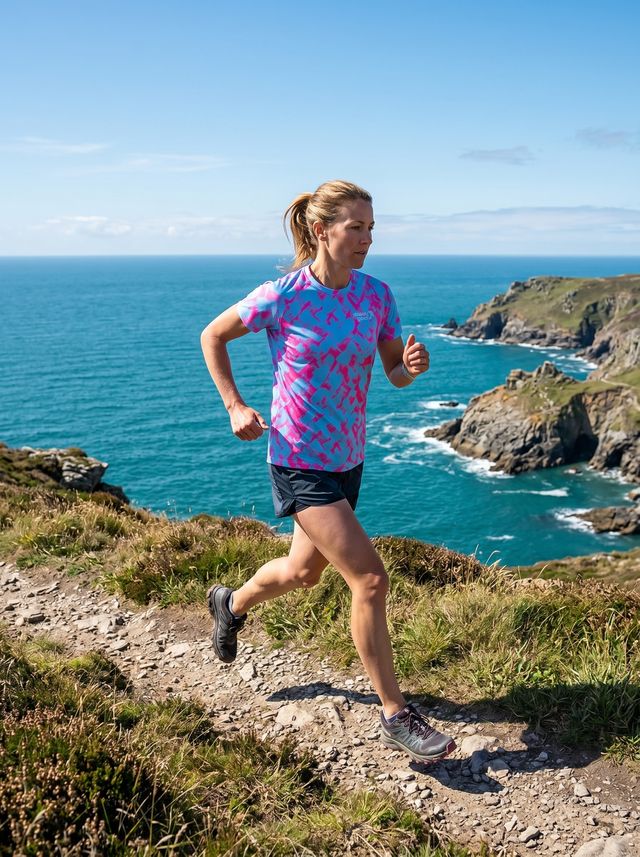

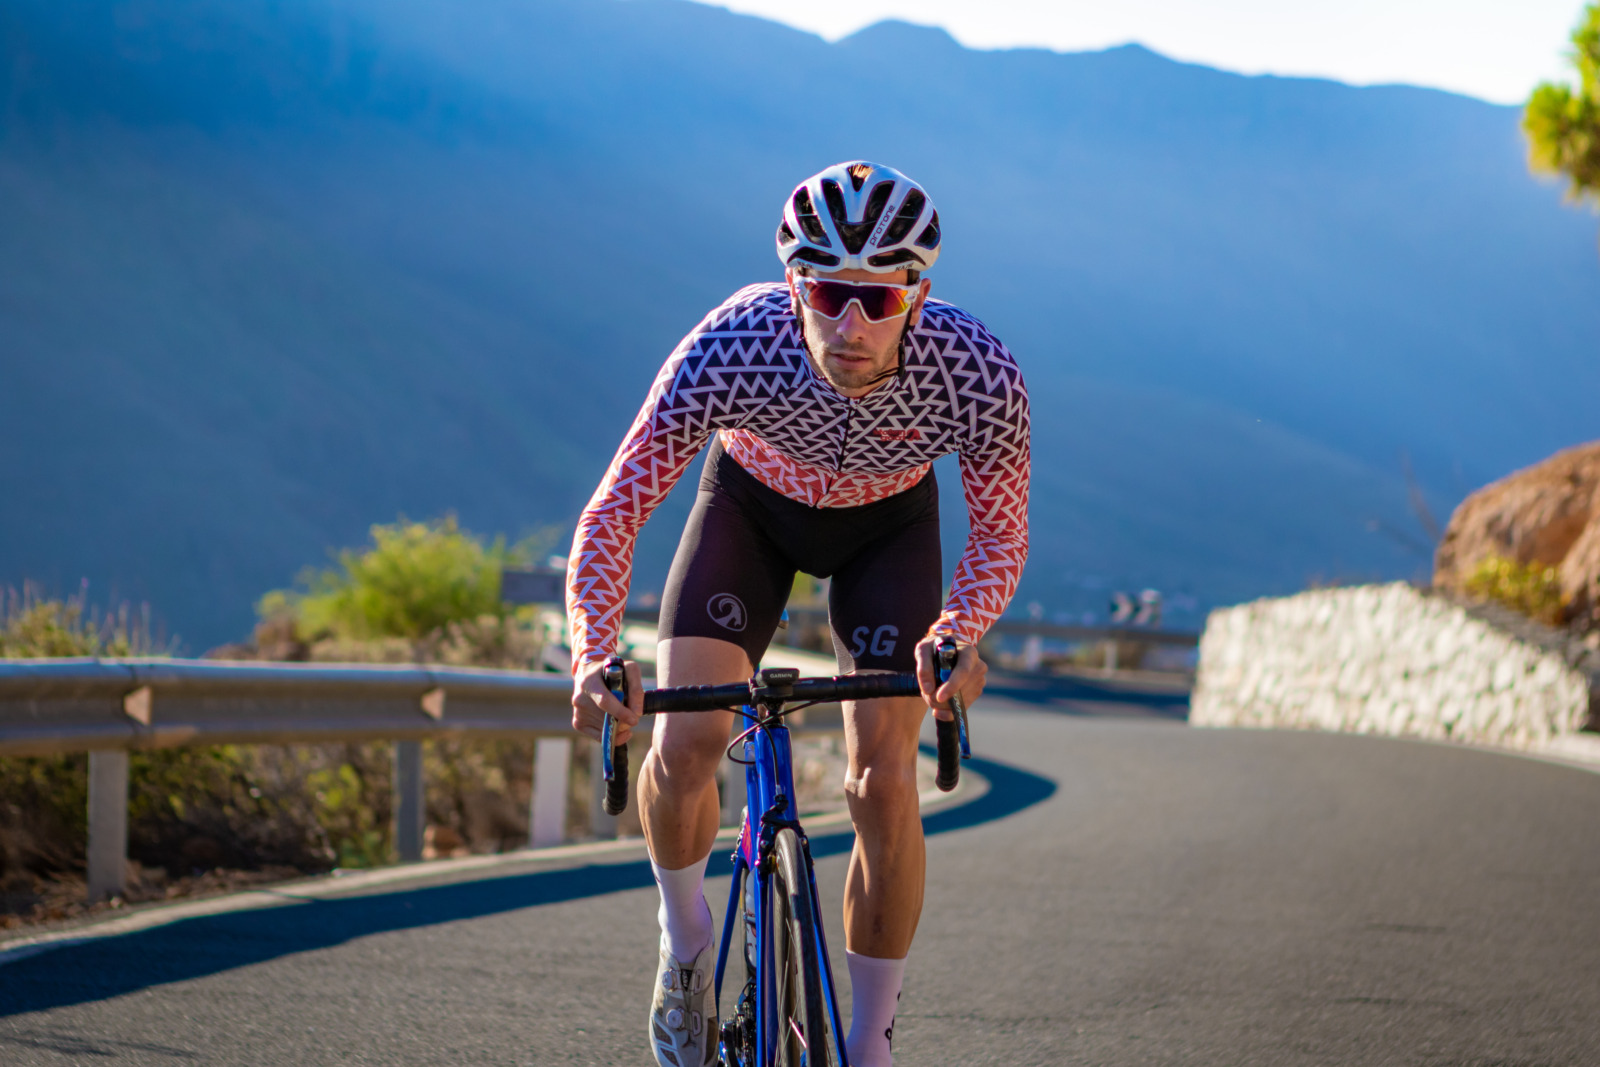
Love them or loathe them, hills are an inevitable part of cycling. And for many cyclists, the sight of an uphill gradient on the horizon can leave their hearts sinking and their legs burning. Because let’s face it: cycling uphill is hard work!
If you hate cycling uphill, it can be tempting to stick to flatter routes. But so many of the best places to cycle in the world feature iconic (and challenging) climbs. So if you want to broaden your horizons. Or just make it through the Sunday group ride without a sense of impending doom every time you see a hill coming up. It’s time to embrace the elevation and find your climbing legs.
In this article, we share some top tips on how to get better at cycling up hills including some expert insights and an example bike workout for climbing from cycling coach Josh Brandwene.
Meet the expert
Josh Brandwene, founder of Climb with Josh, is a UESCA licensed cycling coach with a degree in Kinesiology. Offering 1-1 online cycling coaching alongside coached cycling holiday, Josh currently works with athletes from 7 different countries. Josh has summitted over a dozen of the famous Pyrenean cols, so it’s safe to say he knows more than a thing on two on how to take on the big cycling climbs!
Develop your aerobic fitness to make cycling uphill feel easier
The main reason that cycling uphill feels so much harder is because you’re fighting against gravity. That means you’ve got to push harder to keep making forward progress, which will quite quickly start making your legs feel fatigued.
So while a hill climb is often at an effort above your steady aerobic state, the key to getting better at cycling uphill starts with working on that base line fitness. “Developing your base aerobic fitness will help to make you more resistant to fatigue while you’re climbing,” Josh explains. “Plus, it will also give your body the tools it needs to be able to recover faster between climbs on hilly rides.”
As we’ve explained in our article on Zone 2 training, the better your aerobic fitness is the harder you can push before you start getting that burning sensation in your legs.
Before you start focusing on higher intensity interval work (more on this below!) first focus on building your aerobic base. “Try incorporating more steady endurance rides into your schedule to establish a solid base of aerobic fitness,” says Josh. These easy rides might feel boring, or even pointless: “These steady state rides are often reduced or even skipped, but I can’t stress enough how important they are!” Trust the process and tick off those Zone 2 miles.
Do more of the stuff you’re bad at
It’s human nature to avoid the things we feel like we’re not great at, and spend more time in our comfort zone. But if you’re always seeking out the flat lands, you’re never going to get better at cycling uphill.
“The more time you spend climbing on the bike, the more strength, fitness and experience you’ll get,” Josh says.
“Knowing what it feels like to fight against gravity at different gradients and over different distances will help you to gain the fitness and the knowledge to get up those inclines efficiently.”
That doesn’t mean you’ve got to go ahead and go cycle up a mountain straight off the bat. Start small by incorporating one or two of the steeper inclines in your local area on your rides. After a few weeks, they’ll start to feel easier. If you’re struggling with confidence, you can also mimic hill repeats on the turbo trainer – ramp up the resistance in progressive stages for 3-5-minute intervals with a few minutes easy recovery in between. Or if you use a virtual training platform, pick a route with a climb and ride up and down it a few times.
Improve your cycling threshold with targeted interval work
Alongside building your aerobic base with steady Zone 2 work. Another great way to stave off the onset of the accumulation of lactate (which is what causes that horrible burning feeling in your legs when you ride uphill!) is to raise your threshold.
“Threshold work is a great way to develop your ability to push more power, and to become more efficient at tolerating lactate,” says Josh. Essentially, that means you’ll get further up the hill before you start to feel the burn making the climb feel more manageable. Your body will also be more efficient at clearing lactate so you’ll recover faster once you’ve reached the top. No more feeling exhausted for the entire rest of the ride!
Example bike workout to improve your threshold
So what do we mean by threshold intervals?
“When we talk about threshold, we don’t mean flat out 10 second sprints. Functional Threshold Power or FTP generally refers to the maximum amount of power (or effort) you can theoretically sustain for around an hour.”
You can learn more about FTP and how to find yours in our article on Zone 2 training.
“To improve your climbing on the bike, you want to be doing slightly longer intervals just below your FTP,” Josh suggests. Below you can find an example workout that will help you to build those climbing legs!
Warm up
- 10 mins very easy (zone 1 power/heart rate or 2/10 perceived effort)
Prep set
- 4 mins 30s – easy (zone 2 power/heart rate or 4/10 perceived effort)
- 30s – steady (zone 3 power/heart rate or 6/10 perceived effort)
- 2 mins 30s – easy (zone 2 power/heart rate or 4/10 perceived effort)
- 30s – moderate (zone 4 power/heart rate or 7/10 perceived effort)
- 2 mins – easy (zone 2 power/heart rate or 4/10 perceived effort)
The short zone 4 efforts here are at the same intensity you’ll hold for the long efforts in the main set. The purpose of these shorter blasts here is to get that neuromuscular connection so you’re ready for the set to come.
Main set
Repeat three times:
- 7 minutes moderate (95% FTP, zone 4 power/heart rate or 7/10 perceived effort)
- 3 minutes recovery (zone 2 power/heart rate or 4/10 perceived effort)
Top tip: you can adjust the intensity depending on your current fitness level. If you’re just getting back into training, drop the intervals to 3-5 minute efforts with 5 minutes recovery in between. If you want to make the session harder, you can either increase the interval time (up to a maximum of 11 minutes) or reduce your rest time.
Cool down
- 12 minutes easy riding (zone 1).
These threshold efforts can be done either on your indoor trainer, or outdoors if the conditions are safe and favourable. By completing this type of session once a week, you’ll build strength and power which will help you to become a stronger climber.
Work on your climbing technique
When we talk about cycling skills and technique, we generally think of bike handling skills such as cornering. But there’s actually a real knack to climbing efficiently. And the best way to cycle uphill can come down to the gradient of the climb itself as well as your own personal physiology,
“You’ll only learn through experience how you personally climb the most efficiently. Some riders perform better opting for a higher cadence, spinning their legs and staying seated. Meanwhile others find they’re better off pushing a bigger gear and getting up out of the saddle on a frequent basis. Try both methods and see what suits you best.”
During longer climbs, you’re likely to be riding uphill as a sustained effort with occasionally steep ramps (such as on hairpin corners) mixed in. Shift down into an easier gear so you can spin the legs at a higher cadence on the not-so-steep sections. This will help you to conserve energy so you don’t burn out, and so you can put in a short blast out of the saddle to get up the steeper sections.
It’s worth looking at your technique when you’re getting out of the saddle too. If you’re bobbing up and down a lot, then you’ll be wasting precious energy. Think about maintaining a push-pull on the pedals while staying ‘up’.
How to pace cycling climbs
Pacing is another key factor when it comes to learning to love the climbs. And the most common mistake cyclists tend to make? Going too hard at the start of a climb, says Josh.
“If you go too hard, too early and try to bank time at the start of the climb. It’s a sure-fire recipe to blow up. At best, that’s going to make the rest of the climb feel miserable. Trust me, I’ve been there!”
“Instead, pace yourself. Learn to climb at tempo, rather than going max effort from the start. Start off steady, and it’s likely you’ll actually hit the summit faster than if you go too hard, too soon and end up exhausting yourself half way.”
Consider changing your gear ratio
If you’re consistently struggling up the climbs and it feels like you’re always grinding at a low cadence even when you shift to your easiest gear, it might be worth taking a look at your gear ratio. “There’s absolutely no reason to be ashamed of adding a rear cassette that’s going to give you more gears so you can climb more efficiently,” says Josh.
A gear ratio is the difference between the teeth on your front chain ring and those on your rear cassette. A higher ratio gives you ‘harder’ gears – ideal for fast, flat rides to ensure you don’t ‘run out of gears’ and end up spinning out. But this means you’ve got less wiggle room to make things easier when you hit an uphill. On the flipside, a lower ratio gives you more easy gears to play with. But it does mean on the fast flats and the downhills you’re more likely to run out of gear so you’ll have less top end speed.
If you want to make steep climbs that little bit easier, an ideal gear ratio for climbing is 1:1. Consider using either a compact (50/34) or a super-compact (48/32) chainring – these are both relatively small, making pedalling easier. Pair with either an 11/32 or 11/34 cassette. If all those numbers are making your head spin, don’t be afraid to head to your local bike shop to get some advice on what your current set up is and how you could adapt it.